Rds Internal Error Please Try Again or Contact Support if the Error Persists
The remote desktop error 'An internal error has occurred' is often acquired by RDP settings or its local group policy security. At that place have been quite a few reports which country that users are non able to use the Remote Desktop Connection client to connect to another organisation. According to reports, this upshot occurred out of the blueish and wasn't caused by any particular action.
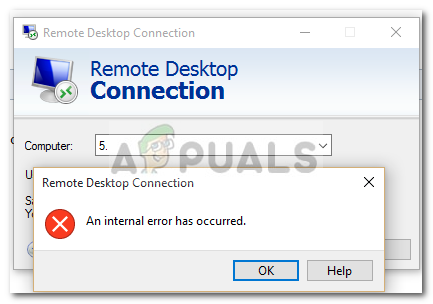
Upon clicking Connect, the Remote Desktop Connection client freezes and so the error pops up later a few seconds. Since Remote Desktop Connection is used by many users for their concern or personal purposes, this fault tin can turn out to exist quite the pain. However, exercise not worry as you lot will able to gear up the issue by going through this article.
What causes the 'An Internal Error has Occurred' Error on Windows 10?
Since the error appears out of the blueish, its specific cause is not known, even so, it can occur due to 1 of the following factors —
- Remote Desktop Connectedness settings: For some users, the error was caused by their Remote Desktop Connectedness client settings.
- RDP Security: In some cases, the error tin appear due to the Security of the Remote Desktop Protocol in which case you volition accept to change the security layer.
- Computer's domain: Another thing that can cause the error to announced tin can be the domain to which your system is continued. In such a case, removing the domain and and then joining it again volition ready the issue.
At present, before you use the solutions that are provided downwards beneath, please brand sure that you are using an administrator account. Also, we recommend following the given solutions in the same society as provided then that y'all can isolate your issue rapidly.
Solution one: Alter Remote Desktop Connection Settings
To start off, we will try to isolate the result by changing the RDP settings a footling bit. Some users have reported that their issue was resolved once they checked the 'Reconnect if the connection is dropped' box. You tin can practice this by following the given steps:
- Go to the Commencement Card, search for Remote Desktop Connection, and open it upwards.
- Click on Bear witness Options to unveil all the settings.
- Switch to the Experience tab and then make sure 'Reconnect if the connexion is dropped' box is checked.
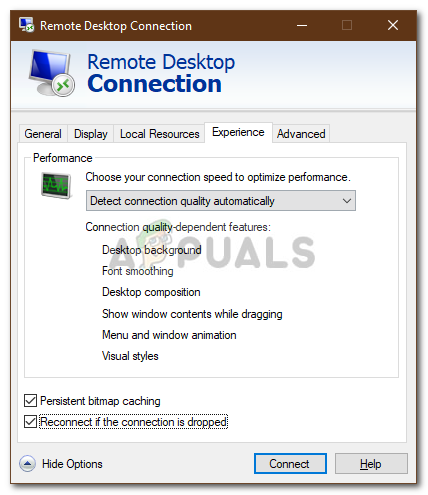
Changing RDP Settings - Try connecting again.
Solution 2: Rejoining Domain
The error message is sometimes generated due to the domain you lot take connected your organisation to. In such cases, removing the domain and then joining it once more volition set your outcome. Here'southward how to do information technology:
- Press Windows Key + I to open Settings.
- Navigate to Accounts and so switch to the Access work or schoolhouse tab.

Account Settings - Select the domain you have connected your system to and so click Disconnect.
- Click Aye when prompted to ostend.

Confirming to Remove Domain - Disconnect your system and so restart your computer every bit prompted.
- Once you have restarted your system, you lot tin join the domain again if you lot wish to.
- Endeavor using RDP once again.
Solution iii: Irresolute MTU Value
Another fashion of fixing the issue would exist to change your MTU value. Maximum Transmission Unit is the largest size of a parcel that can be sent in a network. Dropping the MTU value tin can help in fixing the effect. Here's how to practise it:
- To change your MTU value, you will take to download a tool chosen TCP Optimizer. You tin can download it from here.
- Once downloaded, open up TCP Optimizer as an ambassador.
- At the bottom, select Custom in front of Choose settings.
- Change the MTU value to 1458.

Changing the MTU Size - Click Utilise Changes and and then leave the program.
- Bank check if it fixes the result.
Solution 4: Changing Security of RDP in Grouping Policy Editor
In some cases, the error message pops upward due to your RDP security layer in the Windows grouping policies. In such scenarios, you lot will have to force it to employ the RDP Security layer. Here'southward how to do it:
- Get to the Beginning Menu, search for Local Group Policy and open up up 'Edit group policy'.
- Navigate to the following directory:
- Computer Configuration > Administrative Templates > Windows Components > Remote Desktop Services > Remote Desktop Session Host > Security
- On the right-paw side, locate the 'Require use of specific security layer for remote (RDP) connections' and double-click information technology to edit it.
- If it is set to 'Not configured', select Enabled so in front of Security Layer, choose RDP.

Editing RDP Security Policy - Click Employ and and then hitting OK.
- Restart your organization so that the changes have effect.
- Try connecting over again.
Solution 5: Disabling Network Level Authentication
You can also try to fix your effect by disabling Network Level Authentication or NLA. The effect can, at times, be caused if you lot or the target organisation is configured to just allow remote connections that are running Remote Desktop with NLA. Disabling it will fix the issue, hither'south how to exercise it:
- Go to your Desktop, right-click on This PC and select Properties.
- Click on Remote Settings.
- Nether Remote Desktop, un-tick the 'Allow connections only from computers running Remote Desktop with Network Level Authentication' box.

Disabling Network Level Hallmark - Click Employ so hit OK.
- Encounter if it isolates the issue.
Solution 6: Restarting Remote Desktop Service
In some cases, restarting the Remote Desktop Service does the fox, therefore, in this step, we volition be manually restarting it. For that:
- Press "Windows" + "R" to open up Run prompt.
- Blazon in "services.msc" and press "Enter".
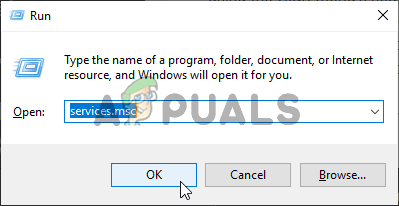
Running Services.msc - Double click on "Remote Desktop Service" and click on "Stop".

- Click on "Outset" after waiting for at to the lowest degree five seconds.
- Bank check to see if the effect persists.
Solution vii: Disable VPN Connection
It is possible that your computer might exist configured to use a proxy or a VPN connection due to which its internet connectedness might be routed through another server and this might exist preventing it from beingness able to properly establish a connection. Therefore in this footstep, we will exist disabling the internet explorer's proxy settings and you likewise have to make certain to disable whatsoever VPNs running on your reckoner.
- Press Windows + R central on your keyboard simultaneously.
- A run dialog box will appear on your screen, type "MSConfig" in the empty box, and press OK.
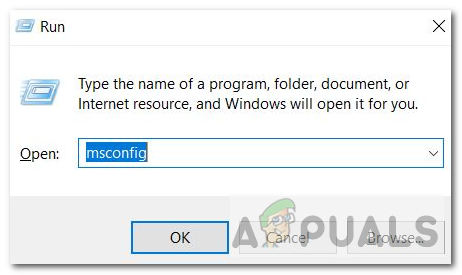
msconfig - Select the kick option from the system configuration window and and then bank check the "Safe Boot" choice.
- Click apply and press OK.
- Restart your PC now to kick into the safe fashion.
- Again, press the same "Windows" + "R" keys simultaneously and blazon "inetcpl.cpl" in the Run dialog box and printing "Enter" to execute it.
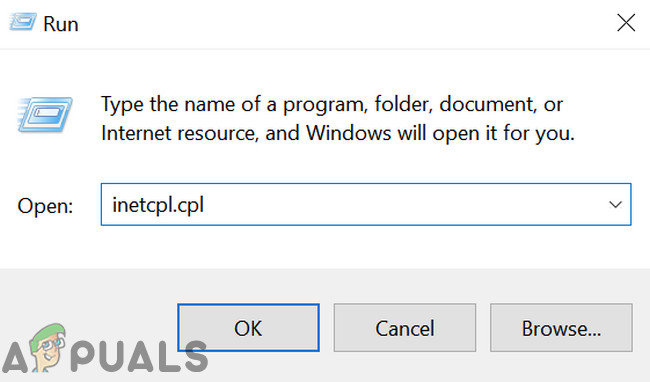
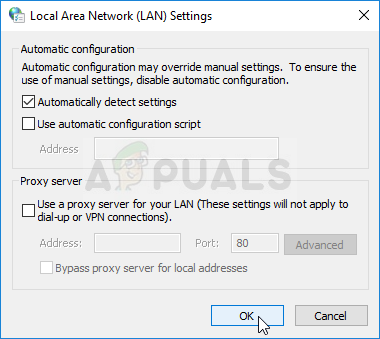
Run inetcpl.cpl - An net properties dialog box would appear on your screen, select the "Connections" tab from there.
- Uncheck the "Use a proxy server for your LAN" box and then click OK.
Disable the employ of Proxy Servers - Open up MSConfig again at present and this time uncheck the safe boot option save your changes and restart your figurer.
- Check to run across if the fault message persists.
Solution viii: Reconfigure Local Security Policy
This is another way to gear up the upshot in which you should use the Local Security Policy utility. Yous can do it past proceeding with the post-obit steps:
- Printing "Windows" + "R" to open the Run prompt.
- Type in "Secpol.msc" and press "Enter" to launch the Local Security Policy Utility.
- In the local security policy Utility, click on the "Local Policies" option, then select the "SecuritySelection" from the left pane.
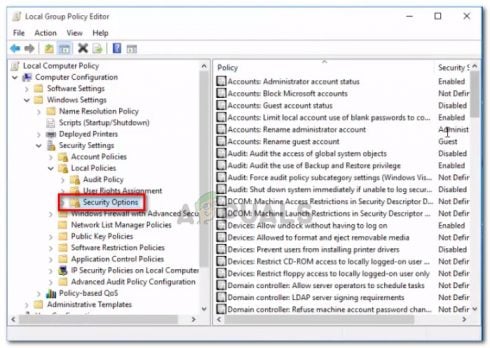
Navigate to Windows Settings > Security Settings > Local Policies > Security Options - In the right pane, scroll and click on the "System Cryptography" selection and
- In the correct pane whorl to find the "Organization cryptography: Use FIPS 140 compliant cryptographic algorithms, including encryption, hashing and signing algorithms" pick.
- Double click on this selection and and then check the "Enabled" button on the next window.

Clicking on the "Enabled" option - Click on "Apply" to save your changes and so on "OK" to close out of the window.
- Bank check to meet if doing so fixes the issue on your computer.
Solution 10: Allowing Remote Connections
It is possible that Remote Connections aren't allowed on your computer according to some organization configurations due to which this error is existence shown while trying to use RDP. Therefore, in this pace, we will be reconfiguring this setting from the Command Panel and then nosotros will cheque to run across if doing and so fixes this issue on our computer. In gild to do that:
- Press "Windows" + "R" to launch the Run prompt.
- Type in "Command Panel" and printing "Enter" to launch the classical control panel interface.
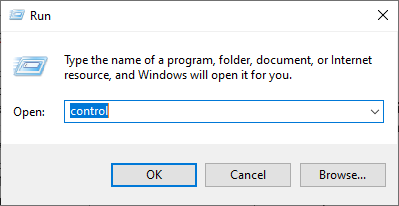
Accessing the Archetype Control Panel interface - In the Control Console, click on the "Organisation and Security" selection and so select the "Organization" push.
- In the system settings, click on the "Advanced Organization Settings" from the left pane.
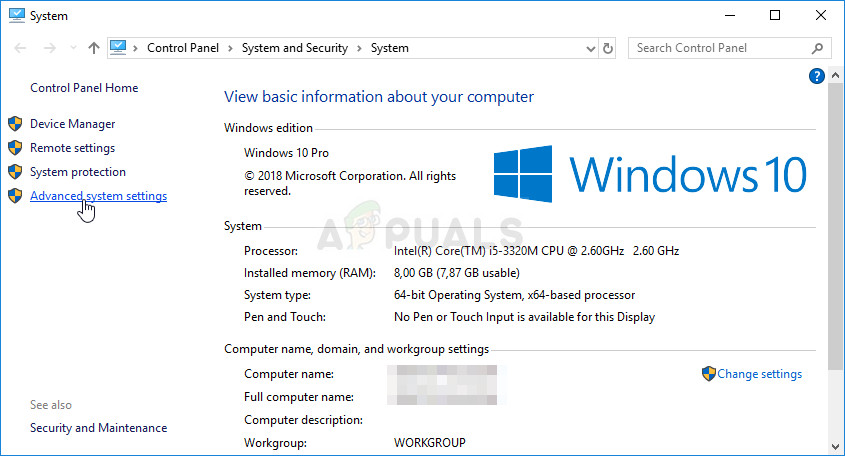
- In the advanced arrangement settings, click on the "Remote" tab and make sure that the "Allow Remote Help Connections to this Computer" choice is checked.
- In addition to that, make sure that the "Allow Remote Connections to this Computer" tab beneath information technology is also checked.
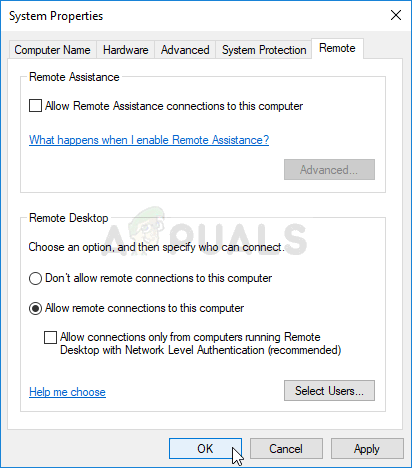
Allow remote connections to this computer - Click on "Apply" to salvage your changes and and so on "OK" to go out out of the window.
- Cheque to see if doing and so fixes this issue on your figurer.
Solution 11: Irresolute the Startup of Service
It is possible that the Remote Desktop service has been configured in such a way that information technology isn't immune to start upwardly automatically. Therefore, in this step, we will be changing this configuration and we will allow the service to be started automatically. In order to exercise this, follow the guide below.
- Press "Windows" + "R" to launch the Run prompt.
- Type in "Services.msc" and printing "Enter" to launch the service direction window.

Run dialog: services.msc - In the service management window, double click on the "Remote Desktop Services" pick and then click on the "Finish" button.
- Click on the "Startup Blazon" selection and select the "Automated" option.

Selecting "Automatic" in the Startup type - Closeout of this window and return to the desktop.
- After doing so, restart your computer and check to see if the issue persists.
Solution 12: Enable Persistent Bitmap Caching
Another possible reason behind the occurrence of this upshot is the "Persistent Bitmap Caching" characteristic being disabled from the RDP settings. Therefore, in this step, nosotros volition launch the Remote Desktop Connections app then change this setting from its experience console. In order to do this, follow the guide below.
- Press "Windows" + "Southward" on your keyboard and type in "Remote Desktop Connectedness" in the search bar.

Typing in Remote Desktop Connections in the search bar - Click on the "Prove Options" button and so click on the "Experience" tab.
- In the experience tab, cheque the "Persistent Bitmap Caching" option and relieve your changes.
- Try to make the Remote Desktop connectedness and then cheque to run across if the consequence still persists.
Solution 13: Disabling Static IP on Computer
It is possible that this event is being triggered on your computer because you have configured your network adapter to use a static IP and it is not aligning with the Remote Desktop Connection properly. Therefore, in this step, we will be disabling the Static IP on our figurer through the network configuration settings so check if the upshot is fixed by doing and so. For that:
- Printing "Windows" + "R" to launch the Run prompt.
- Type in "ncpa.cpl" and press "Enter" to launch the network configuration panel.

Run this in the Run dialog box - In the network configuration panel, right-click on your network adapter and select "Backdrop".
- Double-click on the "Net Protocol Version 4 (TCP/IPV4)" selection and so click on the "General" tab.
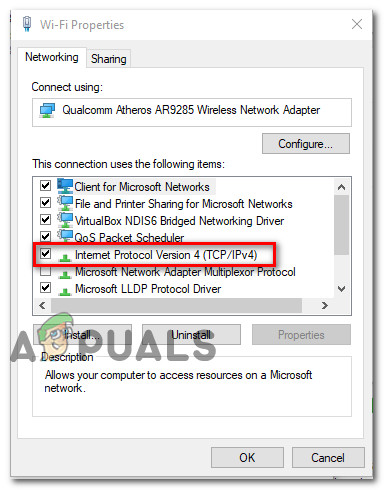
Accessing the Internet Protocol Version 4 settings - Bank check the "Obtain IP Accost automatically" option and relieve your changes.
- Click on "OK' to leave out of the window and check to see if the issue still persists.
Solution 14: Reconfiguring SonicWall VPN
If you are using the SonicWall VPN customer on your computer and are using the default configurations with that awarding, this error might leap upward while trying to utilize the Remote Desktop Connection application. Therefore, in this step, we will be changing some settings from within the VPN. For that:
- Launch Sonicwall on your computer.
- Click on "VPN" then select the "Settings" option.
- Expect for "WAN" under the VPN policies list.
- Click on the "Configure" option to the right and so select the "Client" tab.
- Click on the "Virtual Adapter Settings" dropdown and select the "DHCP Lease" pick.

Selecting the pick from the dropdown - Check to see if doing so fixes the consequence.
- If this issue yet isn't stock-still, we will have to remove the electric current DHCP lease from the VPN.
- Navigate to the "VPN" option and then select the "DHCP overVPN" push.
- Delete the already existing DHCP lease and restart the connectedness
- Cheque to meet if the consequence persists after doing this.
Solution 15: Diagnosing Connection through Command Prompt
Information technology is possible that the computer that you are trying to connect to using the Remote Desktop Connection might not be available for connection due to which this issue is being triggered. Therefore, we will have to diagnose whether the computer is available for connexion or not.
For this purpose, we will exist using the control prompt to showtime identify the IP accost of the computer and then we will use the command prompt on our estimator to try and ping it. If the ping is successful, the connectedness can be made, if it isn't that means that the estimator that y'all are trying to connect to is at fault and not your settings. For this purpose:
- Gain access to the figurer you want to connect to locally and press the "Windows" + "R" keys on its keyboard to launch the run prompt.
- Blazon in "Cmd" and press "Enter" to launch the command prompt.
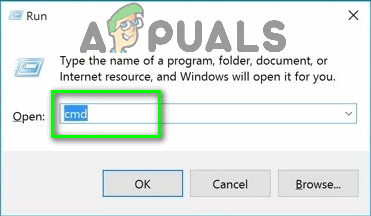
Type "cmd" into the Run dialog - In the control prompt, type in the post-obit command and printing "Enter" to display the IP information for the figurer.
- Note the IP address listed under the "Default Gateway" heading which should be in the "192.xxx.10.20" or a similar format.

The "Default Gateway" listed in the results - One time yous accept acquired the IP address of the estimator that you are trying to connect to, you can come dorsum to your ain computer for farther testing.
- On your personal figurer, printing "Windows" + "R" to launch the Run prompt and type in "Cmd" to open the command prompt.
- Type in the following command in the command prompt and press "enter" to execute it.
ping (IP ADDRESS of the calculator that we want to connect to) - Wait for the control prompt to finish the pinging of the IP address and notation down the results.
- If the ping is successful, it means that the IP address is accessible.
- Now we will be testing the "telnet" adequacy of the reckoner by checking if telnet is possible over the IP address.
- For that, printing "Windows" + "R" and type in "Cmd" to open up the command prompt.
- Type in the following command to cheque if telnet is possible on the port which is required to be open by the RDP client.
telnet <IP address> 3389
- You should be seeing a black screen if this telnet is successful, if it isn't it ways that the port is being blocked on your calculator.
If the black screen isn't returned, information technology means that the port might non exist opened on your computer due to which this outcome is being shown while trying to telnet on the port. Therefore, in this step, nosotros will be reconfiguring the Windows Firewall to open the specific port on our computer. For that:
- Press "Windows" + "I" to open up settings and click on "Update & Security".

Selecting the Update & Security Pick - Select the "Windows Security" tab from the left pane and click on the "Firewall and Network Security" option.
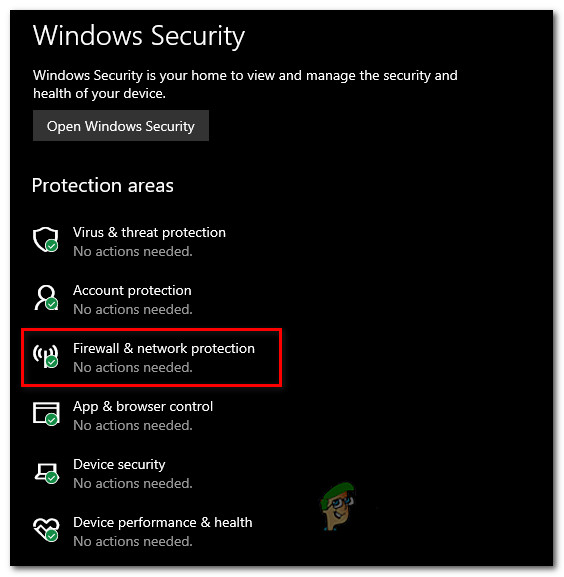
Accessing the Firewall & network protection settings - Select the "Avant-garde Settings" button from the list.
- A new window will open upward, Click on the "Inbound Rules" selection, and select "New Dominion".
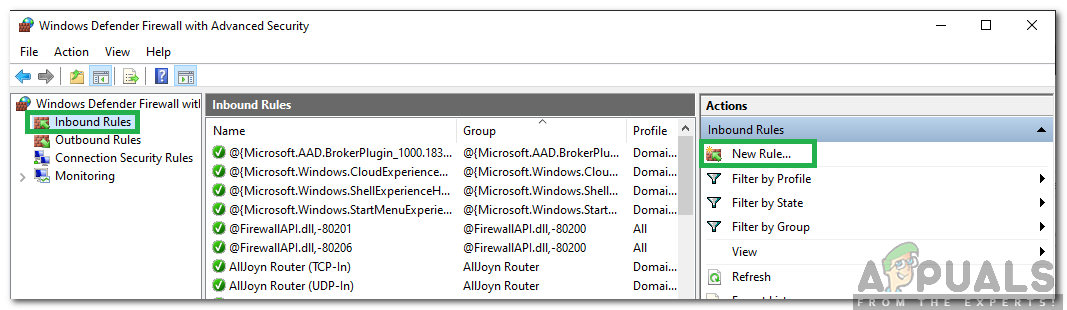
Clicking on "Entering Rule" and select "New Rule" - Select "Port" and click on "Next".
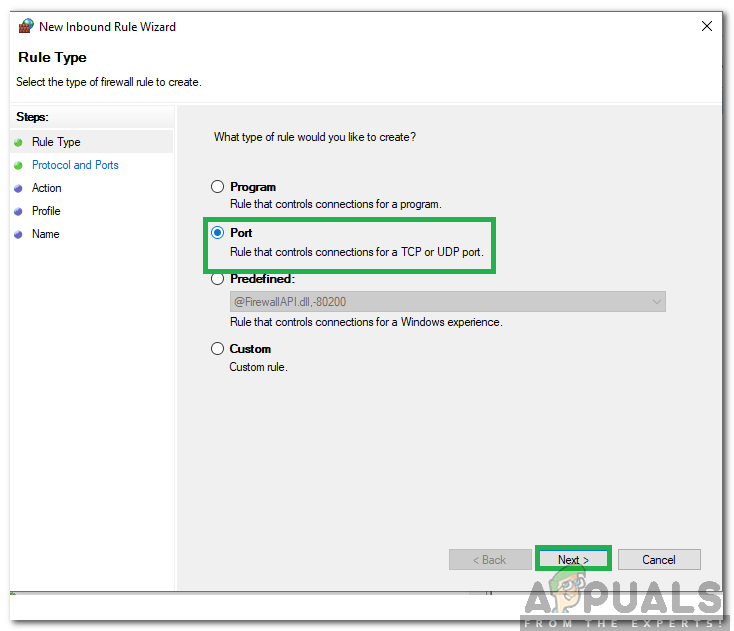
Selecting Port and clicking on Side by side - Click on "TCP" and select the "Specified Local Ports" option.
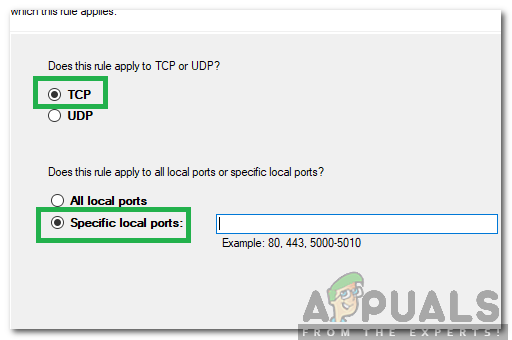
Clicking on "TCP" and checking the "Specified Local Ports" selection - Enter in "3389" into the port number.
- Click on "Side by side" and select "Allow the Connection".
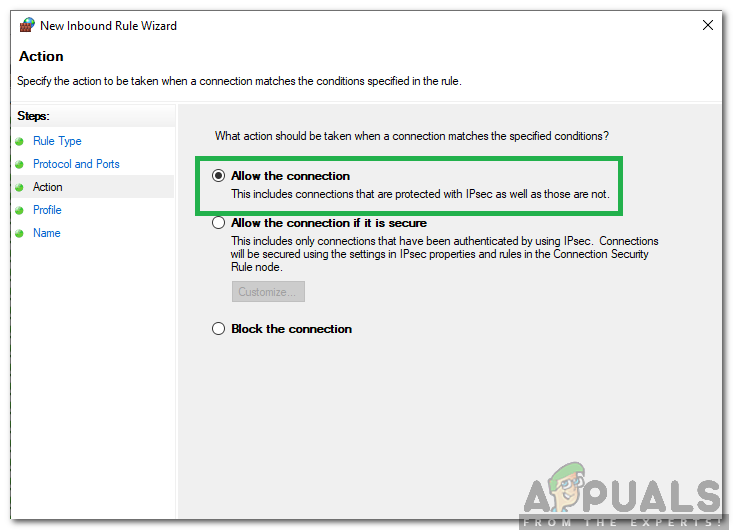
Selecting the "Allow the connection" option - Select "Side by side" and make sure all three options are checked.
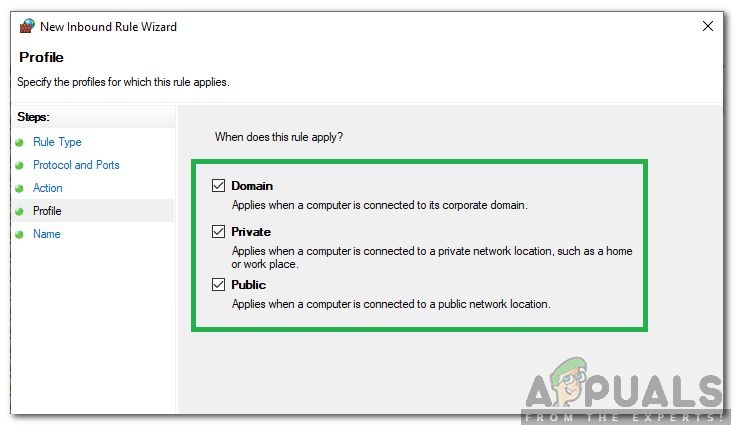
Checking All options - Again, click on "Next" and write a "Name" for the new rule.
- Select "Side by side" after writing a proper noun and click on "Finish".
- Similarly, go back to the 4th step that we have listed and select "Outbound Rules" this time and repeat the whole process to create an Outbound Rule for this procedure besides.
- Later creating both an inbound and an Outbound rule, check to meet if the event persists.
Solution 16: Plough off UDP on Client
Information technology is possible to gear up this issue by simply changing a setting inside the registry or from the group policy. If yous are using Windows Abode version, you can try going about this solution using the registry method, and otherwise, you tin implement the group policy method from the guide below.
Registry Method:
- Printing "Windows" + "R" to launch the run prompt.
- Type in "regedit" and press "Enter" to launch the Registry.
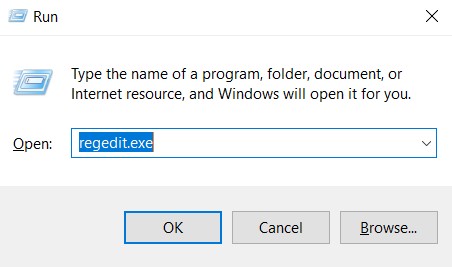
regedit.exe - Inside the registry, navigate through the following options.
HKLM\SOFTWARE\Policies\Microsoft\Windows NT\Terminal Services\Client
- Inside this folder, fix the fClientDisableUDP selection to "i".
- Save your changes and exit out of the registry.
- Check to see if adding this value to the registry fixes this event on your calculator.
Group Policy Method
- Printing "Windows" + "R" buttons on your keyboard to launch the run prompt.
- Type in "Gpedit.msc" and press "Enter" to launch the Group Policy Managing director.
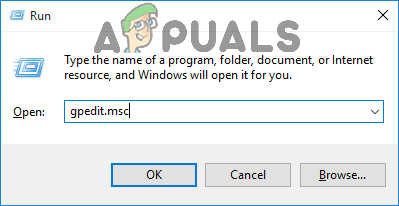
Blazon gpedit.msc into the Run dialog and press Enter - In the Group Policy Managing director, double click on the "Estimator Configuration" selection and then open up the "Administrative Templates" choice.
- Double click on "Windows Components" then double click on the "Remote Desktop Services" option.
- Double click on the "Remote Desktop Connection Client" and and then double click on the "Turn off UDP on Client" option.
- Check the "Enabled" push button and save your changes.

Checking the "Enabled" selection - Exit out of the Group Policy manager and then check to encounter if the effect persists.
Using PowerShell Command
If for some reason you lot are unable to add the registry value as indicated above, we can also implement this change using the Windows Powershell utility. For that purpose:
- Press "Windows" + "10" on your keyboard and select the "Powershell (Admin)" option.
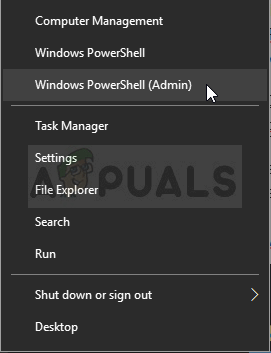
Running PowerShell as an ambassador - Type in the post-obit command within the PowerShell window and printing "Enter" to execute it.
New-ItemProperty 'HKLM:\SOFTWARE\Microsoft\Terminal Server Customer' -Name UseURCP -PropertyType DWord -Value 0
- After the command is executed on your computer, check to come across if the issue still persists.
Final Solution:
Most people that were facing this outcome noticed that it arises later on a recent Windows Update. Co-ordinate to our sources, the consequence is caused if either your Remote customer or your Windows itself has been updated to the 1809 version of Windows. Therefore, as a final solution, information technology is recommended to go dorsum to the previous version of Windows or await for a more stable version of the operating organisation to be released.
![]()
Source: https://appuals.com/fix-remote-desktop-connection-internal-error-has-occurred/
0 Response to "Rds Internal Error Please Try Again or Contact Support if the Error Persists"
Publicar un comentario